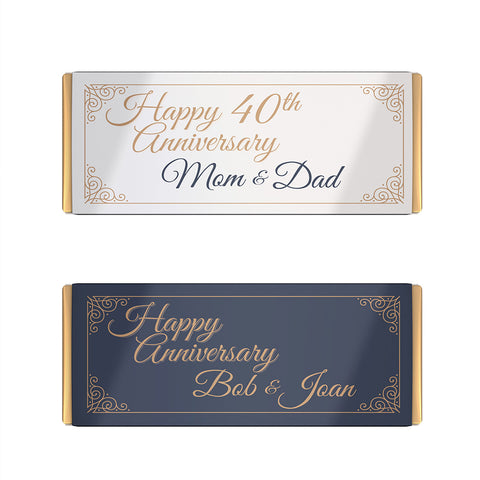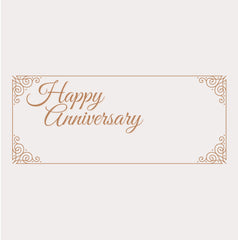
We are happy to present these gorgeous Happy Anniversary Candy bar downloads. Each label comes with space to customize and fully personalize these labels to your event or party.
There are also some that allow you do bypass customizing and just print without adding names.
These images were made to work with our premium chocolate bar labels.
Choose your Image (5.25 x 5.3 inches) for 1.55 oz Candy Bars
|
Download this Candy Bar Wrapper Image This is the navy blue version with space to customize in Microsoft Word- using the instructions below. |
Download this Candy Bar Wrapper Image This is the gold and ivory version with space to customize in Microsoft Word- using the instructions below. |
|
Download this Candy Bar Wrapper Image This image does not leave space for customizing and is ready to print. |
Download this Candy Bar Wrapper Image This image does not leave space for customizing and is ready to print. |
1. Download the Image above that you would like to print. We offer several versions of this anniversary download. If you would like to add names, choose from the top two images. If you would like to print the wrappers- just download from the bottom two images.
2. Download our Microsoft Word Candy Bar Template.
3. Add fonts to your Computer. The fonts that we use in this example is completely free for download at Google fonts. To match the Happy Anniversary image, use the "Great Vibes" font. If you want to add more text to your candy bar wrapper- we recommend adding the "Forum" font. They pair beautifully together.
Link: Great Vibes font and Forum font
Help: How to Download Google Fonts to Your Computer
4. Adding the Images to your template. For each of our images, we have added 1/8 an inch to each side so each image will reach the edge of your label.
5. Adding a Text Box: Once you have finished installing your fonts- we will now see Great Vibes and Forum in the MS Word dropdown. Now, we are going to add the text for your label. Using Insert > Text Box- add the text for the label.


